


Table of contents
Contributors

My main focus is managing the blog and product content for the Protectivity website ensuring everything aligns wi...
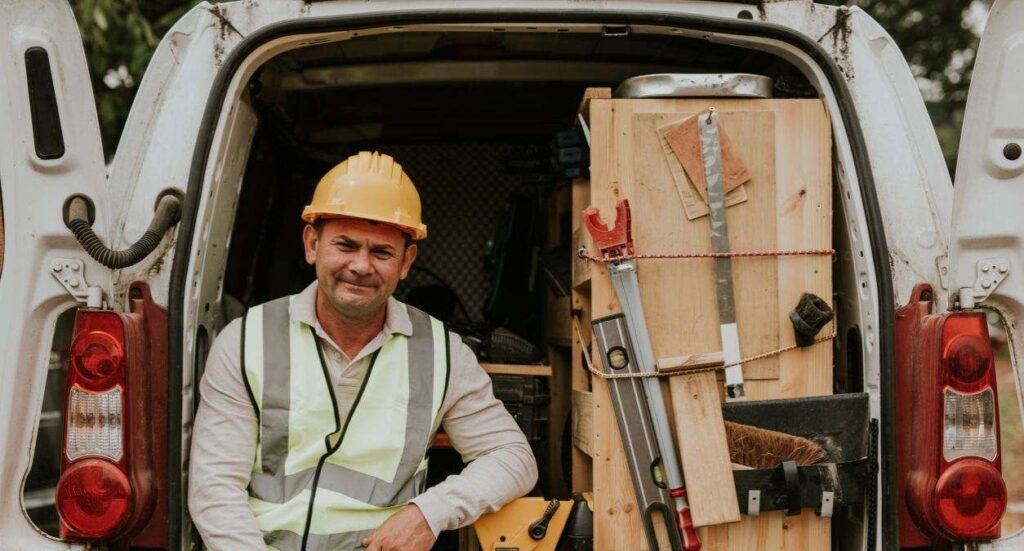
Why now is the ideal moment to start a career in the trades
If you’ve been wondering whether a trade career is a good move, there has rarely been a better time to get started. Across the UK, the industries that rely on skilled trades are facing shortages that are only becoming more urgent as older workers retire, construction commitments rise, and demand for renewable technologies multiplies.
Unlike many sectors that are being reshaped, or threatened, by AI, the skilled trades remain firmly grounded in hands-on expertise that simply cannot be automated. In fact, research like the recent MyBuilder report highlights the growing vulnerability of certain creative and office-based jobs to AI disruption, while trade roles continue to offer real-world value, security, and longevity.
Another growing advantage? Mobility. Many countries experiencing similar shortages now offer attractive routes for UK-trained tradespeople, meaning that gaining a trade here opens doors not just to local opportunities, but potentially to life abroad.
Trade skills shortages are widely recognised, and awareness is higher than ever. Looking ahead to 2026, these shortages aren’t just an industry issue, they’re a huge opportunity for anyone considering entering the sector. Whether you’re currently unskilled, thinking about a career change, or wanting work that offers freedom and hands-on satisfaction, a trade provides solid pay, stability, and the potential to build something of your own.
Where are the biggest UK skills shortages?
As we look toward 2026, government and industry data from 2024–2025 predicts deepening shortages across several essential trades. These gaps are driven by rising demand, an ageing workforce, and ambitious national targets for housing and renewable energy.
Below are the trades where demand is strongest and where opportunities for new entrants are only expected to grow.
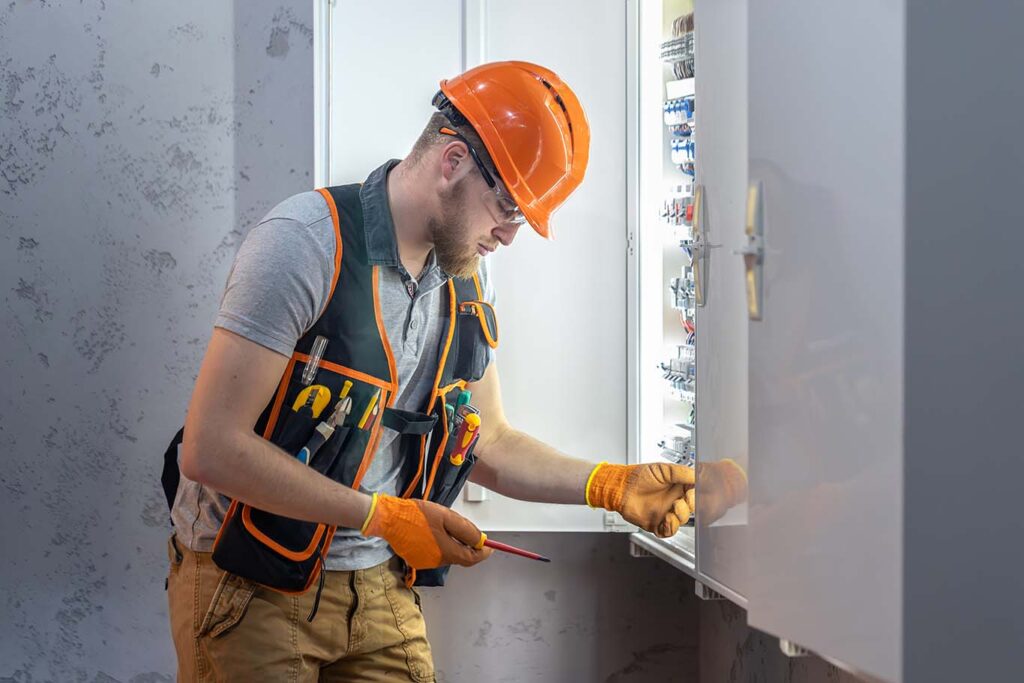
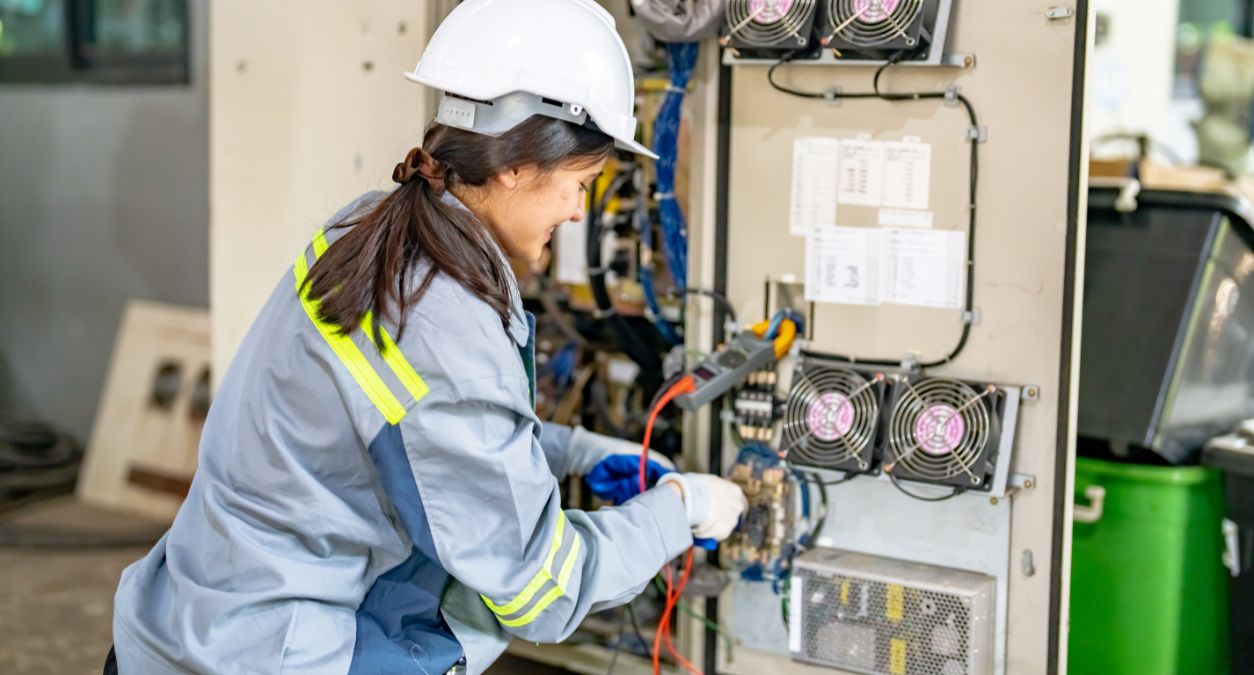
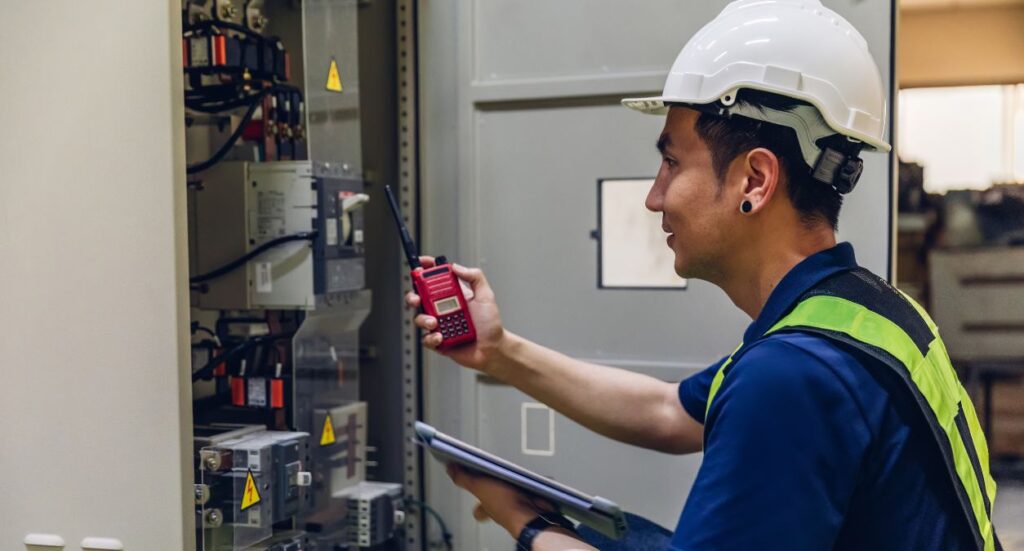
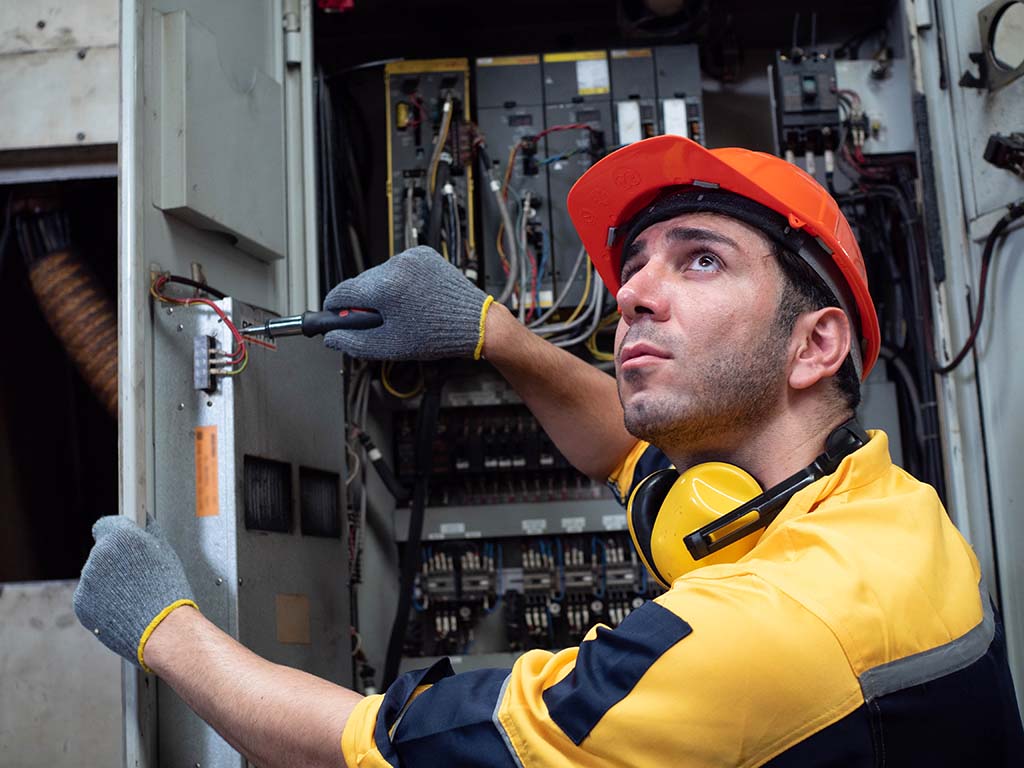
Electricians
Electricians sit at the centre of the UK’s transition to a greener, smarter, more electrified world. The country needs thousands more qualified electricians to keep pace with:
- EV charging point rollout
- Solar panel installation
- Heat pump and low-carbon heating systems
- Smart home wiring and automation
- Expanding commercial electrical infrastructure
Why this trade is appealing
- One of the highest-earning trades
- Strong pathways to self-employment
- Future-proof, tech-driven work
- Opportunities to specialise (renewables, EV, testing & inspection)
Plumbers & Heating Engineers
Heating and plumbing remain among the most in-demand trades, especially as the UK transitions to greener domestic heating.
Demand is driven by:
- New-build housing targets
- Upgrades to older housing stock
- Heat pump installation
- Commercial refurbishment
- A significant number of plumbers retiring
Why this trade is appealing
- Consistent year-round work
- Mix of domestic and commercial opportunities
- Valuable emergency/repair income stream
Many areas already face long waiting times for reliable plumbers creating clear openings for new trainees.
Bricklayers
Bricklayers are essential to the UK’s construction pipeline and play a crucial role in meeting national housing targets. With large-scale developments planned across England, Scotland, Wales and Northern Ireland, bricklaying skills are needed more than ever, particularly in regions outside major cities where shortages are most acute.
Bricklayers work focuses on:
- New-build housing sites
- Commercial and industrial buildings
- Extensions and renovations
- Structural brick and block work
- Restoration of older or heritage properties
Why this trade is appealing:
- Consistent demand on sites nationwide
- A straightforward entry route through apprenticeships or labouring
- Clear progression into specialist brickwork or site management
- Strong earning potential for experienced or fast, efficient workers
- A hands-on job ideal for people who enjoy physical work and seeing visible progress
Find out more about how to become a bricklayer.
Carpenters & Joiners
Carpenters and joiners are some of the most versatile tradespeople in construction, involved in everything from framing and roofing to intricate interior finishes. As home improvement spending rises and new housing developments expand, demand for carpenters is at its highest level in years.
Carpentry and joinery skills are needed for:
- First fix work (structural frames, floors, roofs)
- Second fix work (doors, skirting, staircases)
- Bespoke joinery and cabinetry
- Kitchen and bathroom installations
- Renovations, loft conversions and home extensions
- Timber-frame housing (a rapidly growing area in the UK)
Why this trade is appealing:
- A mix of creative, detailed work and practical construction skills
- Opportunities to specialise in high-earning niches (e.g., bespoke furniture, heritage carpentry)
- Great flexibility—many carpenters go self-employed early in their careers
- A strong pipeline of domestic and commercial work year-round
- Ideal for those who enjoy craftsmanship, precision and building things that last
Find out more about the difference between carpenters and joiners.
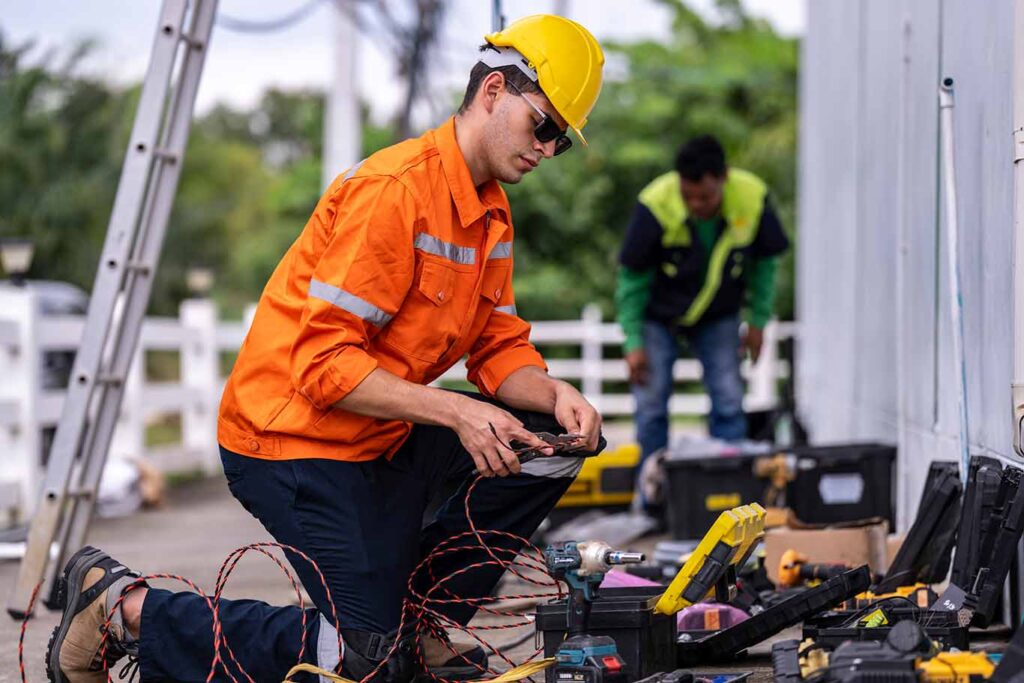
Welders & Fabricators
Welding shortages affect multiple UK industries including:
- Manufacturing
- Marine and shipbuilding
- Rail and infrastructure
- Oil, gas and renewables
- Engineering and fabrication shops
Coded and specialist welders are particularly scarce, often commanding premium pay.
Why this trade is appealing:
- High earning potential
- Opportunities to travel or work internationally
- Highly respected technical skill set
- Clear progression from trainee to coded welder
Groundwork
Groundworkers are essential to almost every construction project. They prepare sites, lay foundations, install drainage, and support everything that happens above ground.
Shortages are rising due to:
- Large-scale housing projects
- Major infrastructure schemes (roads, rail, utilities)
- A wave of retirements in civil engineering-related trades
Why this trade is appealing
- One of the best entry-level trades
- Fast progression into plant operation (digger/roller)
- Good earning potential on large sites
- Ideal for those who enjoy outdoor work and physical activity
Why these shortages matter & opportunities
Shortages across the sector mean that employers are extremely open to hiring new talent, including those with no experience. Right now, UK employers are actively seeking:
- Apprentices
- Trainees
- Labourers willing to learn
- Career changers
- Adults returning to work
- People with transferable skills who are ready to progress
You don’t need a degree or specialised background just a willingness to learn, work hard, and be reliable.
Trades offer something office jobs often don’t:
- The satisfaction of building something real
- Problem-solving and variety
- Visible daily progress
- Earning while learning
- Career progression without university debt
- A realistic pathway to self-employment or running a business
For practical, hands-on people, this sector provides both stability and freedom.
Earning potential compared to office jobs
While office and administrative roles are increasingly affected by automation and AI, the skilled trades offer stable, high-earning salaries and they remain resistant to technological displacement.
Typical UK earning averages for sole traders:
- Electrician: £40,000+
- Plumber/Heating Engineer: £46,000+
- Carpenter/Joiner: £37,000+
- Welder: £40,000+
- Groundworker: £37,000
Source: Checkatrade
And unlike many career pathways, you can start earning from day one of your training.
Training routes: How to get started
There are several accessible pathways into UK trade careers even if you have no qualifications or experience.
1. Apprenticeships
The classic route, fully supported by the UK government. Benefits include:
- Paid employment
- No tuition fees
- Industry-recognised qualifications
- Practical, real-world experience
Apprenticeships are available for ages 16+, making them ideal entry point.
2. On-the-job training
Many employers will take on:
- Labourers
- Mates/helpers
- Trainee technicians
- Site operatives
You learn directly on site, often with opportunities to take formal qualifications later.
3. Skills bootcamps
Government-funded bootcamps offer:
- Short, job-focused training
- Fast entry into high-demand roles
- Links to employers at the end
These are ideal for people wanting a quicker route into work.
4. College courses
Local colleges offer Level 1–3 courses in:
- Electrical installation
- Plumbing
- Carpentry
- Welding
- Bricklaying
These can be combined with part-time work or apprenticeships.
Government support: What’s being done?
The UK government recognises the urgency of trade shortages and is investing heavily in:
- Apprenticeship incentives for employers
- Green Skills Bootcamps
- Funding for construction & engineering training centres
- Grants for employers hiring apprentices
- Fast-track training for adults
- Skills support for job seekers and career changers
All of this makes it easier than ever for new entrants to get started, even if you’re beginning from scratch.
Taking advantage of these opportunities
If you’re considering entering the trades, here are practical steps to get going:
Explore different trades
Get a feel for what interests you.
Visit:
- College open days
- Trade career fairs
- Local employers
- Online trade job boards
Take a short introductory course
A basic construction or electrical taster course can build confidence and help you decide which trade to pursue.
Look for entry-level roles
Positions like “labourer or “trainee technician” give you hands-on experience right away.
Speak to people already in the trade
Most tradespeople are happy to share advice, and they often know employers looking for help.
A path to independence
One of the biggest attractions of the trades is the potential for independent working. After a few years of experience, many tradespeople go self-employed or start small businesses in:
- Electrical services
- Plumbing & heating
- Carpentry
- Welding & fabrication
- Handyman/maintenance services
If you value autonomy, flexible working, and the idea of being your own boss, the trades offer a genuinely achievable route.
Final Thoughts
The UK is heading into 2026 with a significant and growing need for skilled tradespeople. For individuals willing to learn, the opportunities are enormous; better pay, stable work, varied projects, and a clear pathway to independence.
Whether you’re a school leaver, someone considering a career change, or simply looking for a job with purpose and progression, now is the perfect moment to explore the trades. With strong demand, government support, and multiple training routes available, you can start building a rewarding future from day one.
Get Tradesperson Insurance from Protectivity

*Disclaimer – This blog has been created as general information and should not be taken as advice. Make sure you have the correct level of insurance for your requirements and always review policy documentation. Information is factually accurate at the time of publishing but may have become out of date.
Last updated by