

Table of contents
Table of contents
Contributors

Mandy has been with Starpeak Insurance Solutions since 2018, starting in sales in the consumer department and mov...
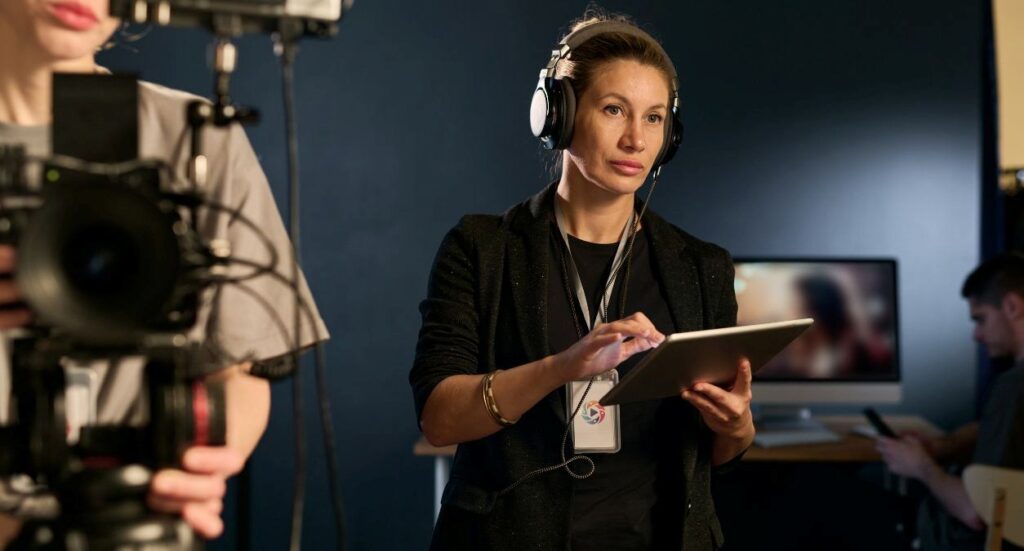
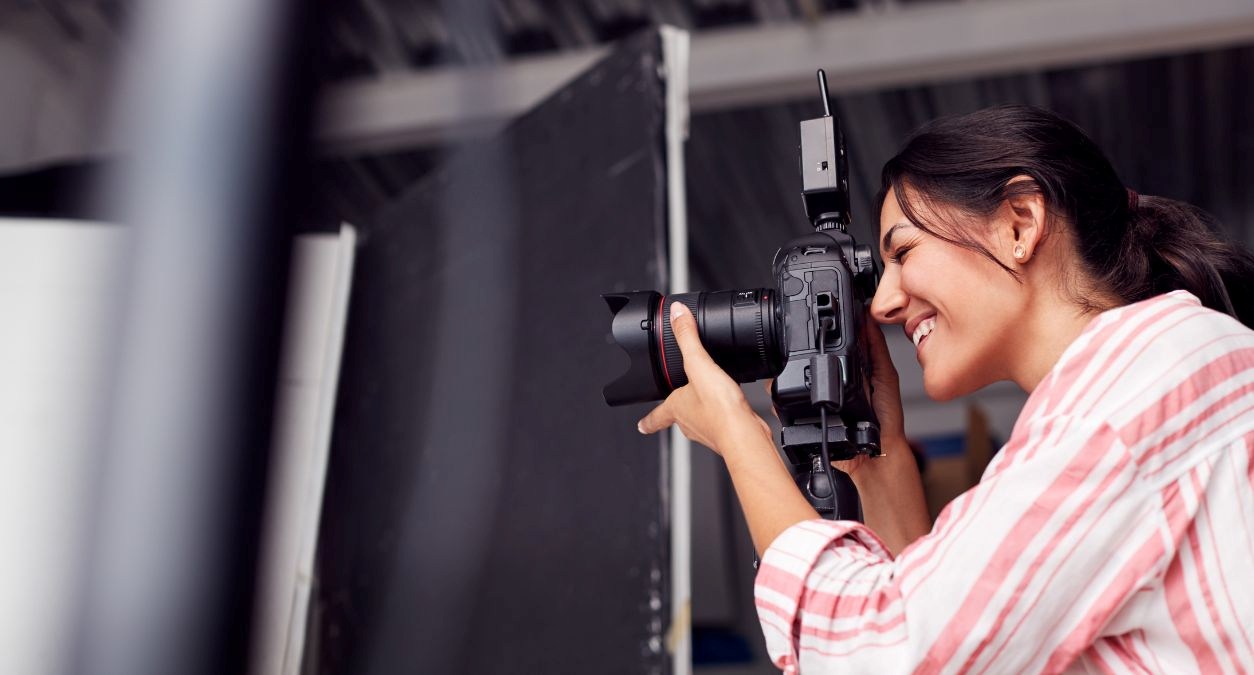
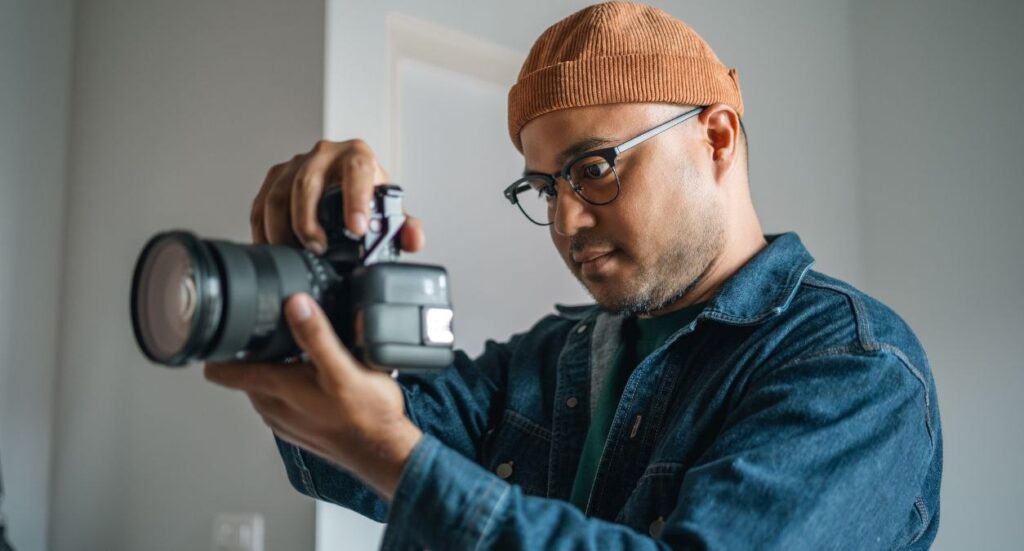
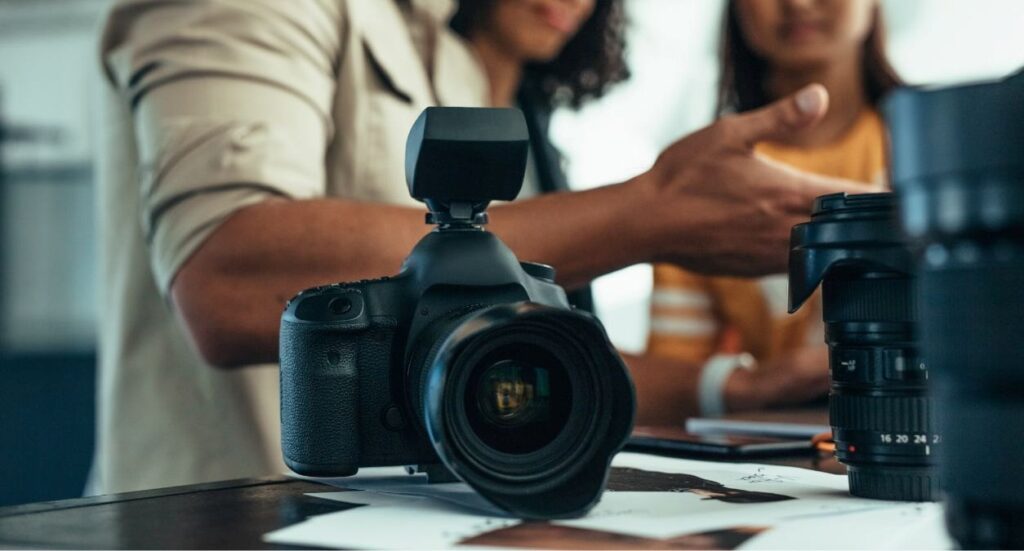
Photography is often described as a dream career: capturing unforgettable moments, creating art, and even travelling the world with a camera in hand. But while the lifestyle can seem glamorous, the practical question many aspiring photographers ask is: how much do photographers actually earn?
The reality is that earnings vary enormously. Some photographers struggle to make ends meet, while others build thriving six-figure businesses. Your income depends on your niche, experience, location, and how well you run the business side of photography.
In this comprehensive guide, we’ll break down:
- Average photographer salaries
- How much photographers charge per hour, per job, or per photo
- Wedding and property photography rates in the UK
- The highest-paid niches in the industry
- Whether photography is a good career choice in 2025
Average photographer salaries
In the UK, most professional photographers earn between £20,000 and £35,000 per year. But that’s only an average. Photographers at the lower end of the scale, particularly those just starting out or working as assistants, may take home closer to £16,000–£18,000 annually.
At the other end, photographers who specialise in weddings, commercial advertising, or fashion often earn £40,000–£60,000+. Some highly sought-after professionals, especially in London or major cities, can achieve six-figure incomes.
The type of employment makes a huge difference:
- Freelance photographers have no salary cap and can set their own rates, but their income fluctuates depending on bookings.
- Employed photographers, such as those working for magazines, studios, or e-commerce retailers, enjoy greater stability but typically earn less.
The trade-off is clear: security versus flexibility. Many professionals start employed to build experience, then transition into freelancing once they’ve developed a client base.
How much do photographers make per job?
Photographers often charge per session or per hour rather than working on a fixed salary. Typical rates in the UK include:
- Portrait sessions: £100 – £300
- Event photography: £50 – £150 per hour
- Corporate headshots: £50 – £150 per person (often discounted for teams)
- Commercial photography: £300 – £1,000 per day
- Property photography: £100 – £250 per property
- Product photography: £20 – £100 per image
Factors affecting these rates:
- Location (London vs. regional towns)
- Photographer’s reputation and portfolio quality
- The complexity of the shoot (studio vs. on-site)
- Editing time (post-production often doubles the workload)
Wedding photography: the most lucrative niche

Weddings are one of the most profitable niches in photography, largely because couples see their wedding day as once-in-a-lifetime. High-quality images are non-negotiable, and couples are often willing to invest significantly in this service.
In the UK, the average cost of a wedding photographer is £1,000–£1,500 for full-day coverage. But this is only a starting point:
- Budget photographers may charge £500 – £800.
- Mid-range professionals typically ask £1,200 – £2,000.
- Luxury or destination photographers can charge £3,000 – £5,000+.
So, how much do wedding photographers earn in a year? Let’s look at two scenarios:
- A photographer shooting 20 weddings at £1,500 each makes £30,000 from weddings alone.
- Another photographer taking 30 weddings at £3,000 each earns £90,000 annually, potentially more if they upsell albums, engagement shoots, or second-shooter coverage.
Weddings are seasonal, which means income often peaks between May and September. Many photographers diversify with portrait sessions, commercial work, or teaching during quieter months.
Tip: With so much at stake on a wedding day, it’s vital for professionals to protect themselves. Having the right photographer insurance covers your gear and liability, giving peace of mind to both you and your clients.
Property photography in the UK

Property photography is a growing field thanks to online estate listings and short-term rental platforms like Airbnb. Typical charges are:
- Per property shoot: £100 – £250
- Per image: £5 – £15, often sold as packages (e.g., 20 images for £150)
- Add-ons:
- Drone photography: +£50 – £150
- Video tours: +£100 – £300
- Twilight/exterior shoots: +£50 – £200
Why estate agents and landlords pay for professional property photography:
- Homes with professional photos sell faster and often for higher prices.
- Airbnb hosts with professional images report increased bookings.
- Quality visuals help listings stand out in competitive markets.
Compared to weddings, property photography usually commands lower fees per job, but it can offer steadier work year-round.
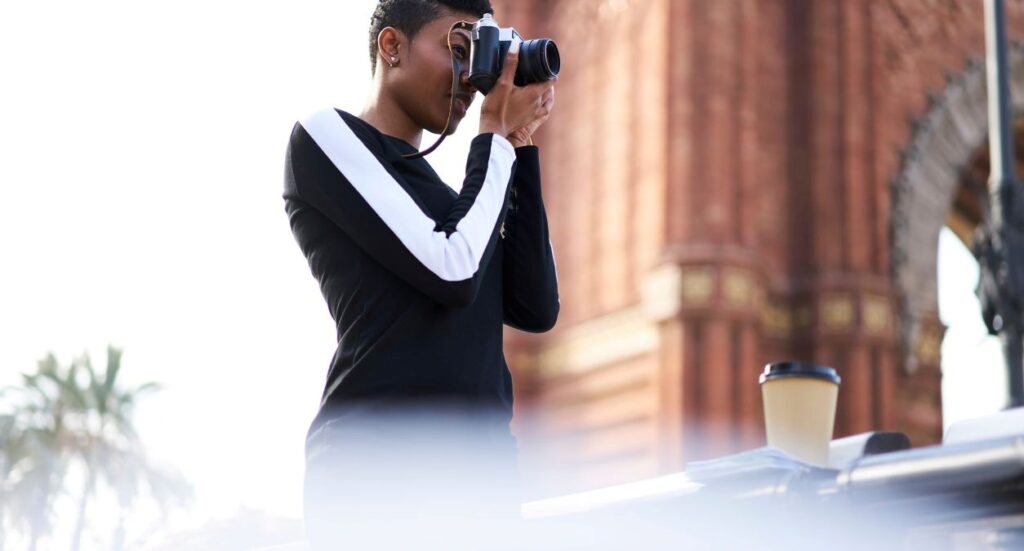
How much do photographers charge per photo?
Not every client wants a full day’s work. In industries such as e-commerce, property, and advertising, charging per photo is common.
For instance:
- Stock photography: £0.20 – £2 per download, sometimes £10+ for extended licences. Success depends on volume — a single photo might sell hundreds of times, or not at all.
- Commercial product photography: £20 – £100 per edited image, reflecting the high production value and usage rights.
- Property photography packages: often £5 – £15 per photo, bundled into sets.
While per-image pricing can be lucrative in commercial settings, it often disadvantages photographers if editing is time-consuming. That’s why many prefer per-project pricing instead.
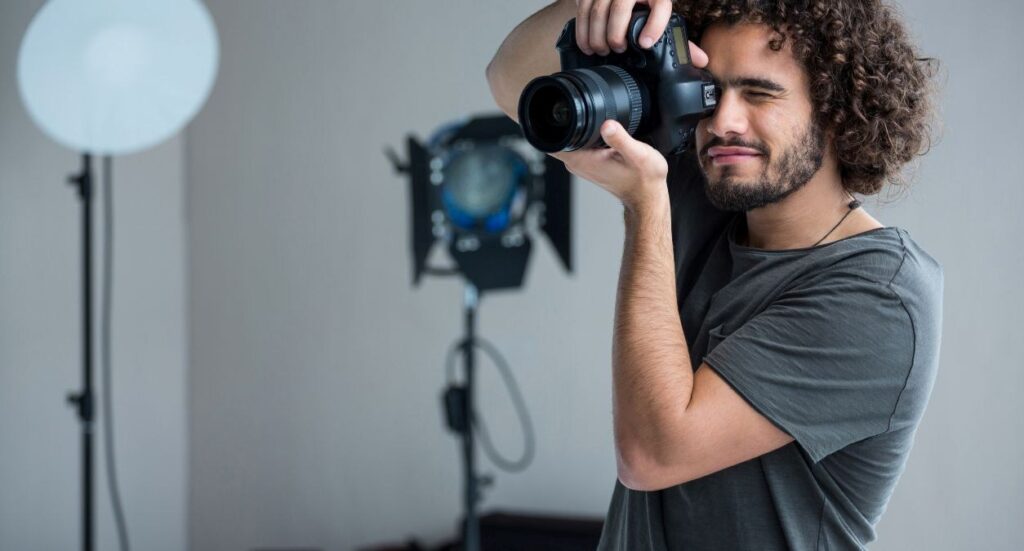
The highest paid photography jobs
While weddings are lucrative, the real money in photography lies in specialist niches. Some of the highest-paid fields include:
Advertising and commercial photography
Shooting campaigns for major brands can command £1,000–£5,000 per day. These jobs require experience, teams of assistants, and high-end equipment, but the payoff is substantial.
Fashion photography
Well-established photographers working with magazines or luxury brands can reach six-figure annual incomes.
Scientific and medical photography
Employed roles in healthcare or research often pay higher salaries than general photography, with strong benefits and stability.
Luxury wedding photography
Top photographers who travel internationally or work with celebrity clients can charge £10,000+ per wedding.
The common thread? Reputation. High-earning photographers build strong brands, invest in marketing, and position themselves as specialists rather than generalists.
Is photography a good career in 2025?
Photography can be an exciting and fulfilling career – but it’s not without challenges. Here are the main pros and cons in today’s market:
Pros:
- Creative freedom and variety of work
- Potential to earn well in weddings and commercial niches
- Flexibility in choosing clients and projects
- Opportunities to diversify into teaching, workshops, or stock
Cons:
- Income instability, especially for freelancers
- High upfront costs for equipment, software, and insurance
- Intense competition in popular niches
- Time-intensive editing and business management behind the scenes
For those with strong creative skills and business acumen, photography can absolutely be a good career. The key is to treat it not just as an art form but as a business, setting clear pricing, marketing effectively, and protecting yourself with tools like photographer insurance.
Common FAQs
How much do photographers earn in the UK?
- Average: £20,000 – £35,000 per year
- Freelance potential: £25,000 – £70,000+ depending on niche
How much do wedding photographers cost in the UK?
- £1,000 – £1,500 average, with luxury packages up to £5,000+
How much do property photographers charge in the UK?
- £100 – £250 per property, or £5 – £15 per photo
How much do photographers make a year?
- Beginners: £16,000 – £18,000
- Mid-level: £25,000 – £40,000
- High-end professionals: £60,000 – six figures
What is the highest paid photography job?
- Commercial and advertising photographers, charging £1,000 – £5,000 per day
Is photography a good career?
- Yes, if combined with business skills and income diversification.
Conclusion
So, how much do photographers earn? The answer spans a wide spectrum. Beginners may make £16,000 per year, while seasoned professionals in weddings, commercial work, or fashion can achieve six-figure incomes. In the UK, wedding photographers typically charge £1,000–£1,500 per wedding, property photographers average £100–£250 per property, and commercial photographers can demand premium daily rates.
Ultimately, photography offers both creative fulfilment and financial potential — but success requires more than just technical skill. It takes marketing, persistence, and a professional approach to client relationships. Protecting your work with the right photographer insurance is also a crucial part of building a sustainable career.
For aspiring professionals, the path may be challenging, but for those passionate about the craft, photography in 2025 remains a career where art and business can come together in rewarding ways.
Get Photographers Insurance from Protectivity
*Disclaimer – This blog has been created as general information and should not be taken as advice. Make sure you have the correct level of insurance for your requirements and always review policy documentation. Information is factually accurate at the time of publishing but may have become out of date.
Last updated by